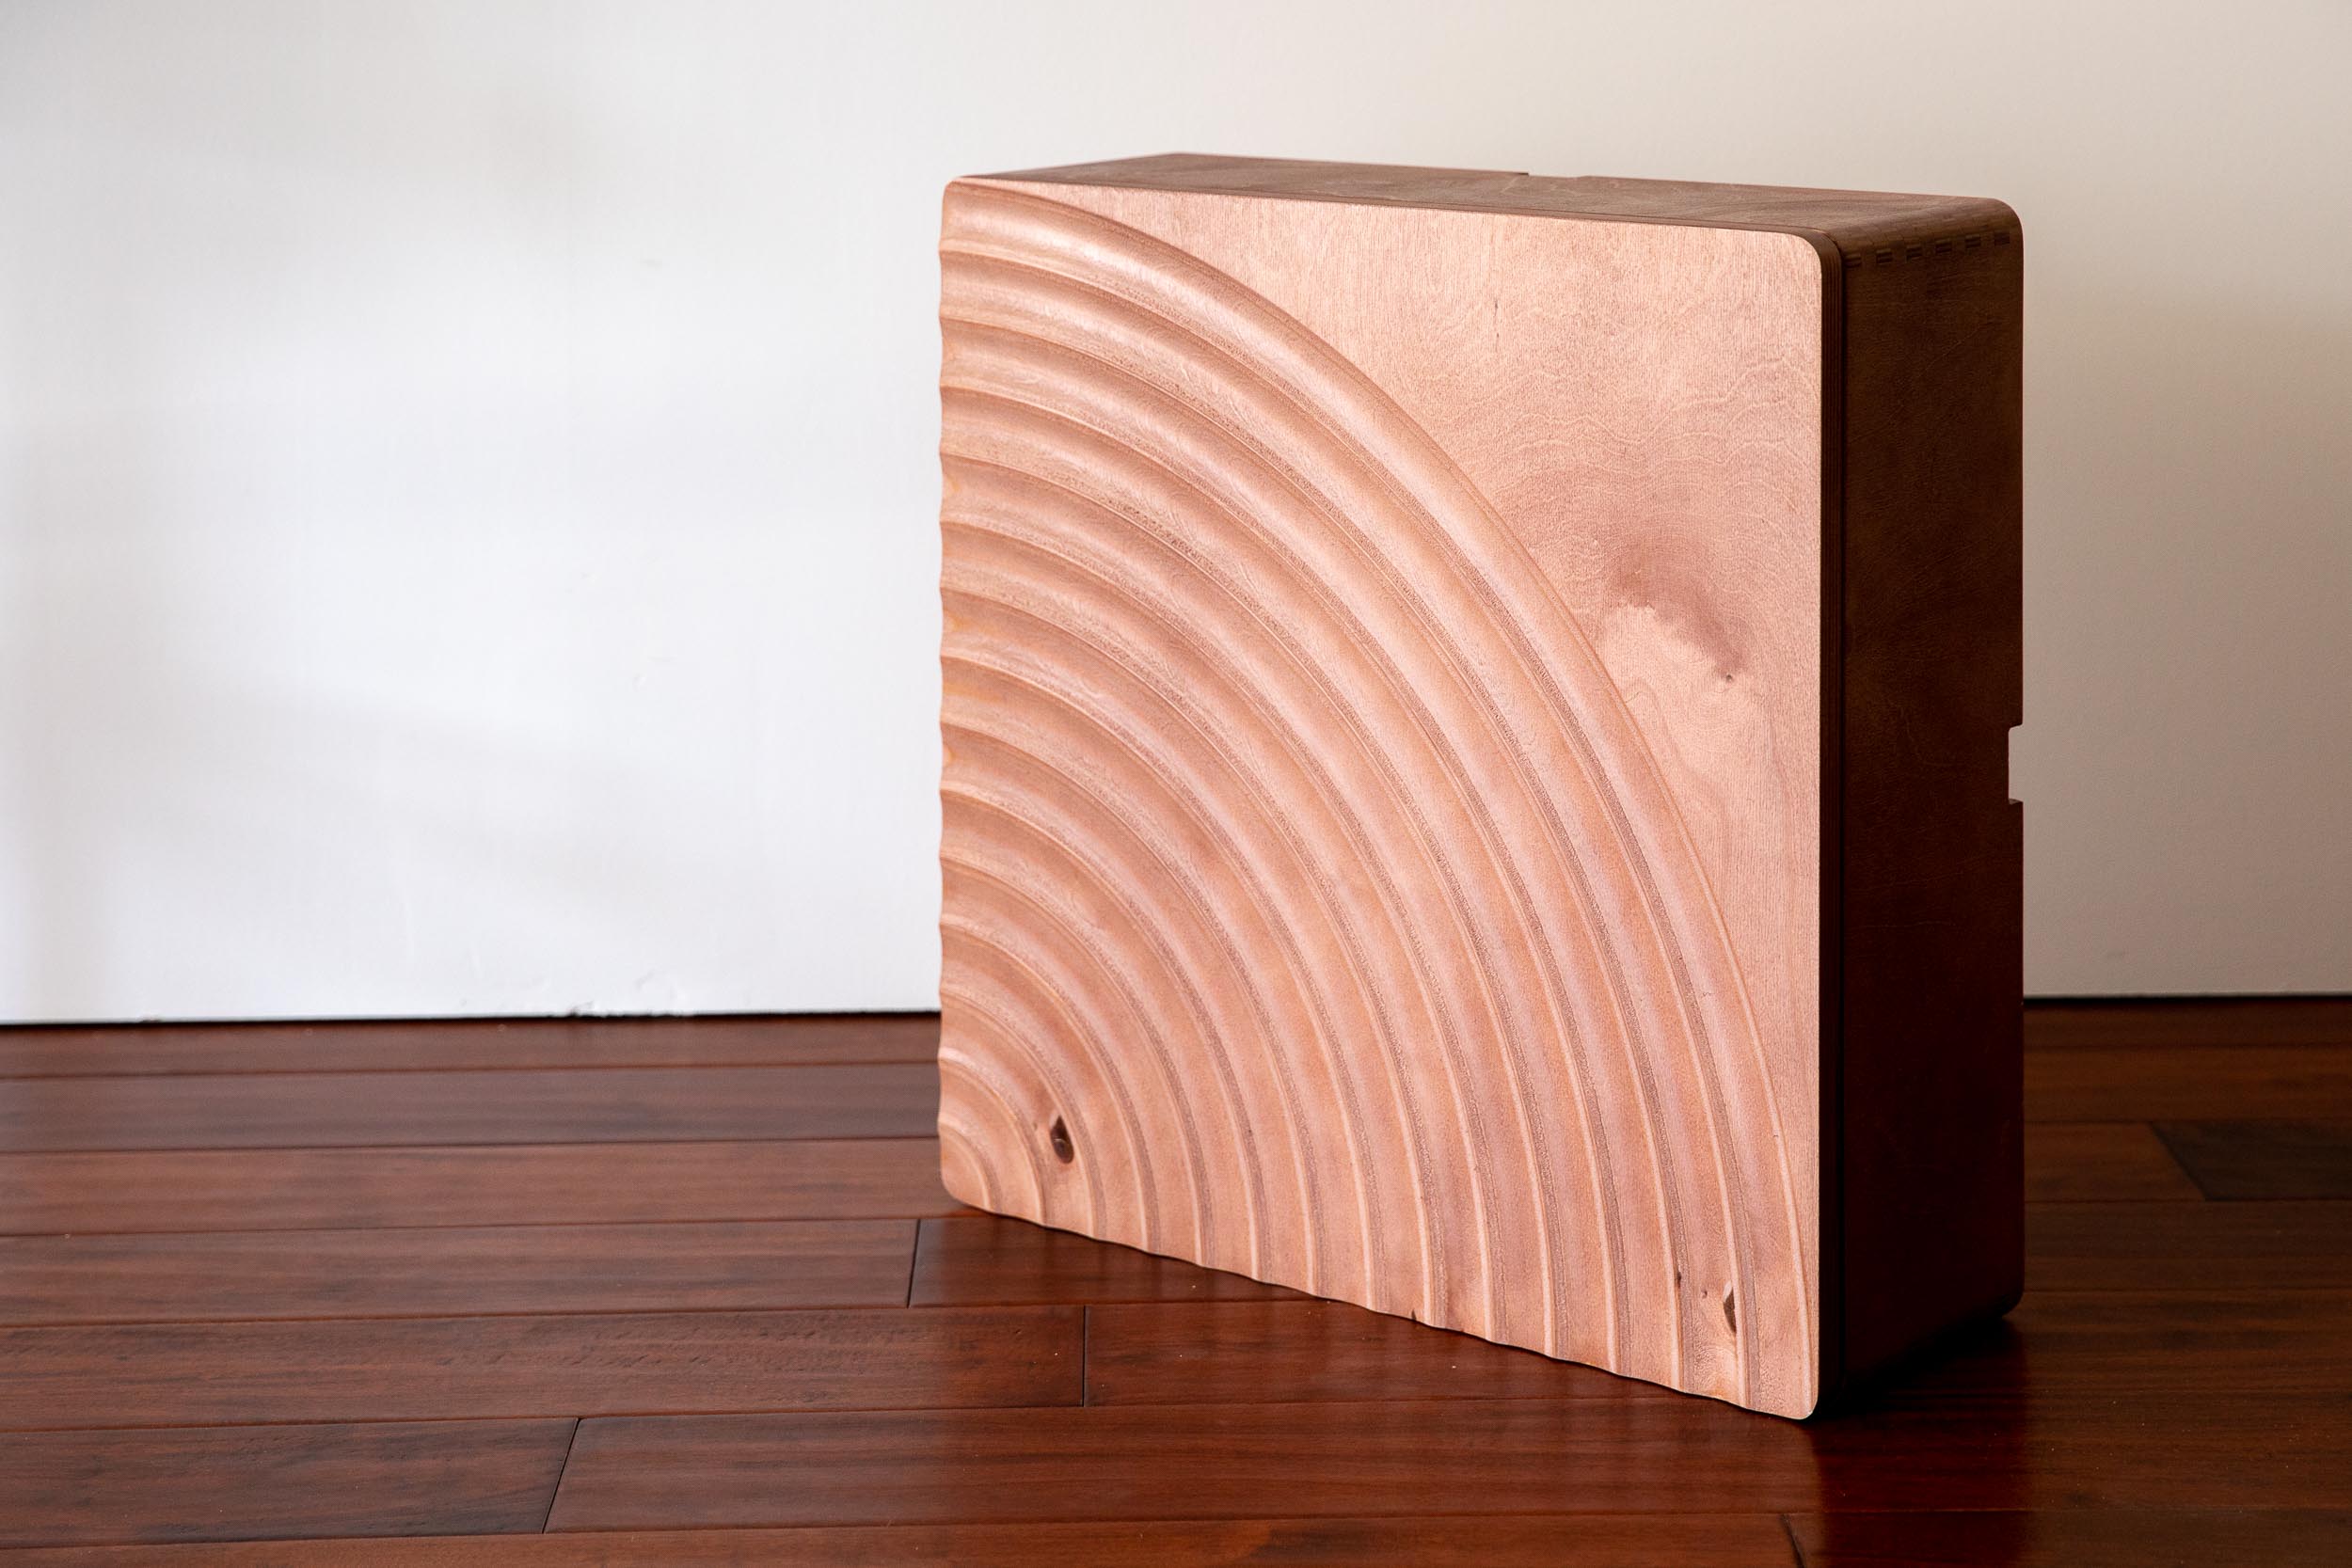
Mounting Is Snap and only a screwdriver.*
All casegoods should be installed by two people.
Step 1

Use your index finger to unlock the two door hinges from their base. Remove the door and set it aside.
If your case includes one or more shelves, gently slide them out and set them aside.
Step 2

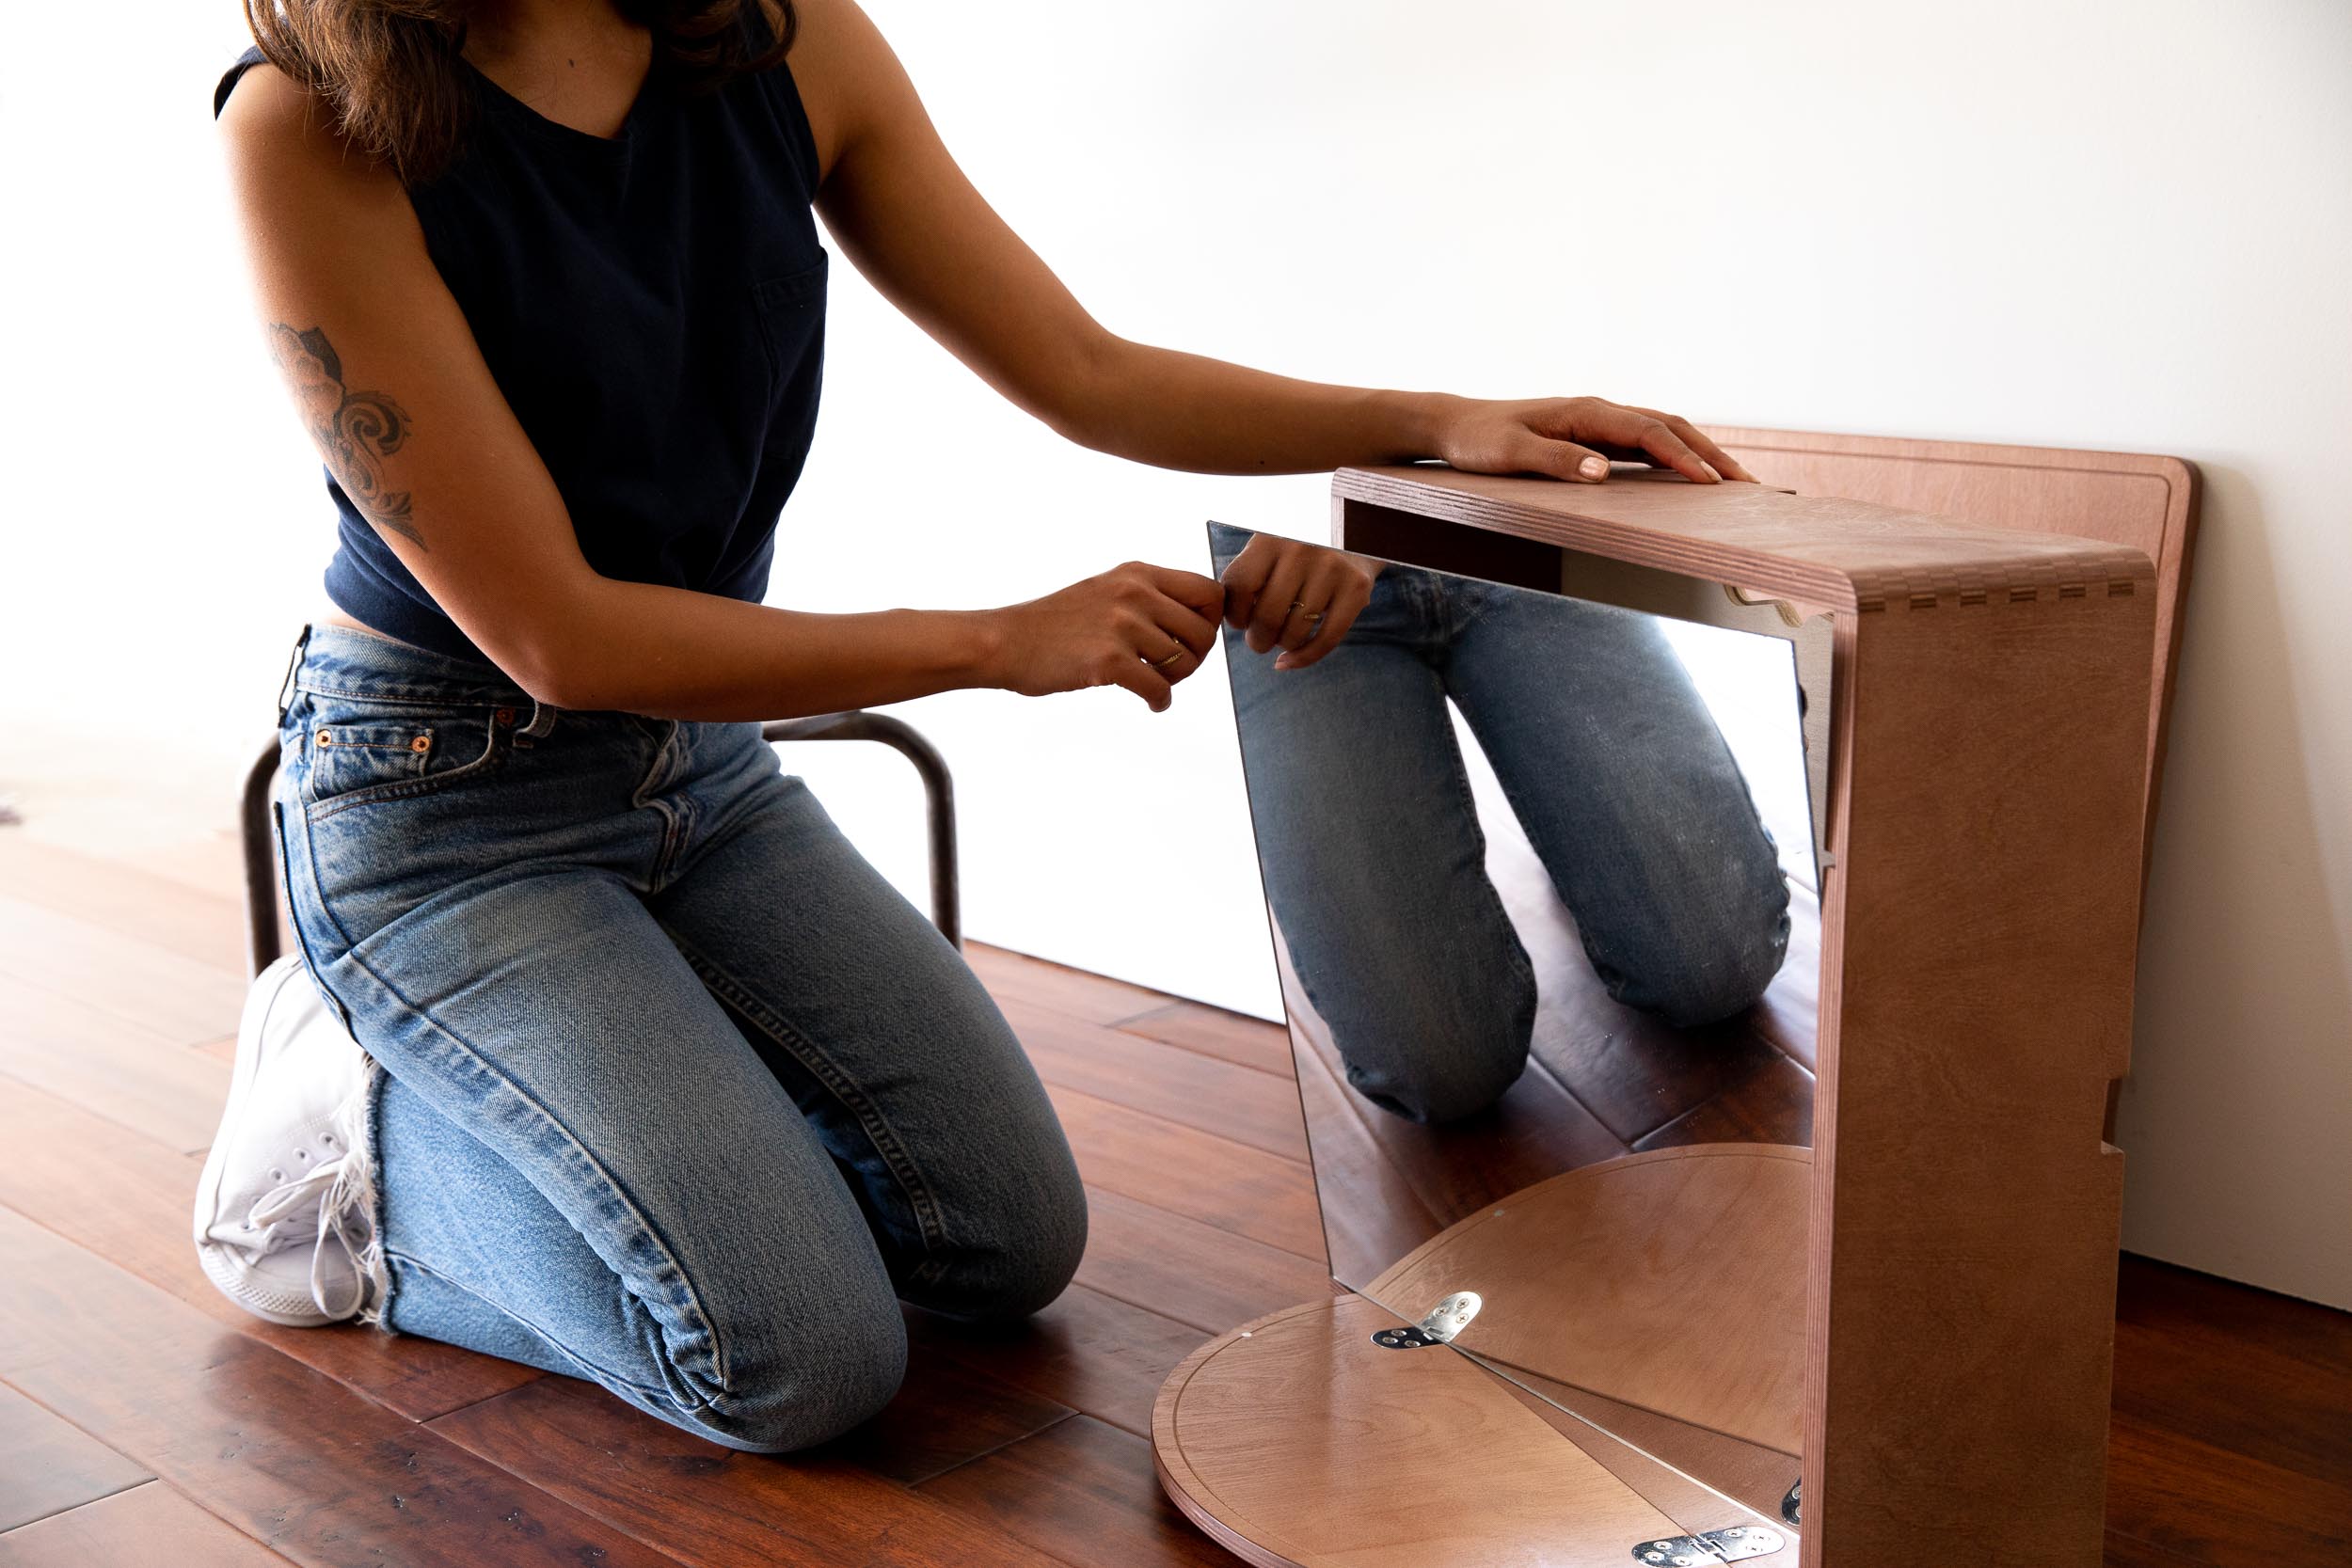
Using the small finger tab located in the upper right corner of the backer-board, gently pull the backer-board out from the case and set it aside.
If you're installing the bar cabinet, you'll need to remove the bottle rod before removing the mirrored backer-board. Simply shift the rod towards the hinge side of the cabinet frame. The opposite end of the rod will then exit from its hole. Finally, Gently pull it away from the hinge side of the frame.
Step 3

Hold the case up to its preferred location on the wall and position it using the embedded level.
Insert a sharpened pencil through one of the two mounting holes on the backplate and draw a circle. Repeat with the second mounting hole.
Step 4

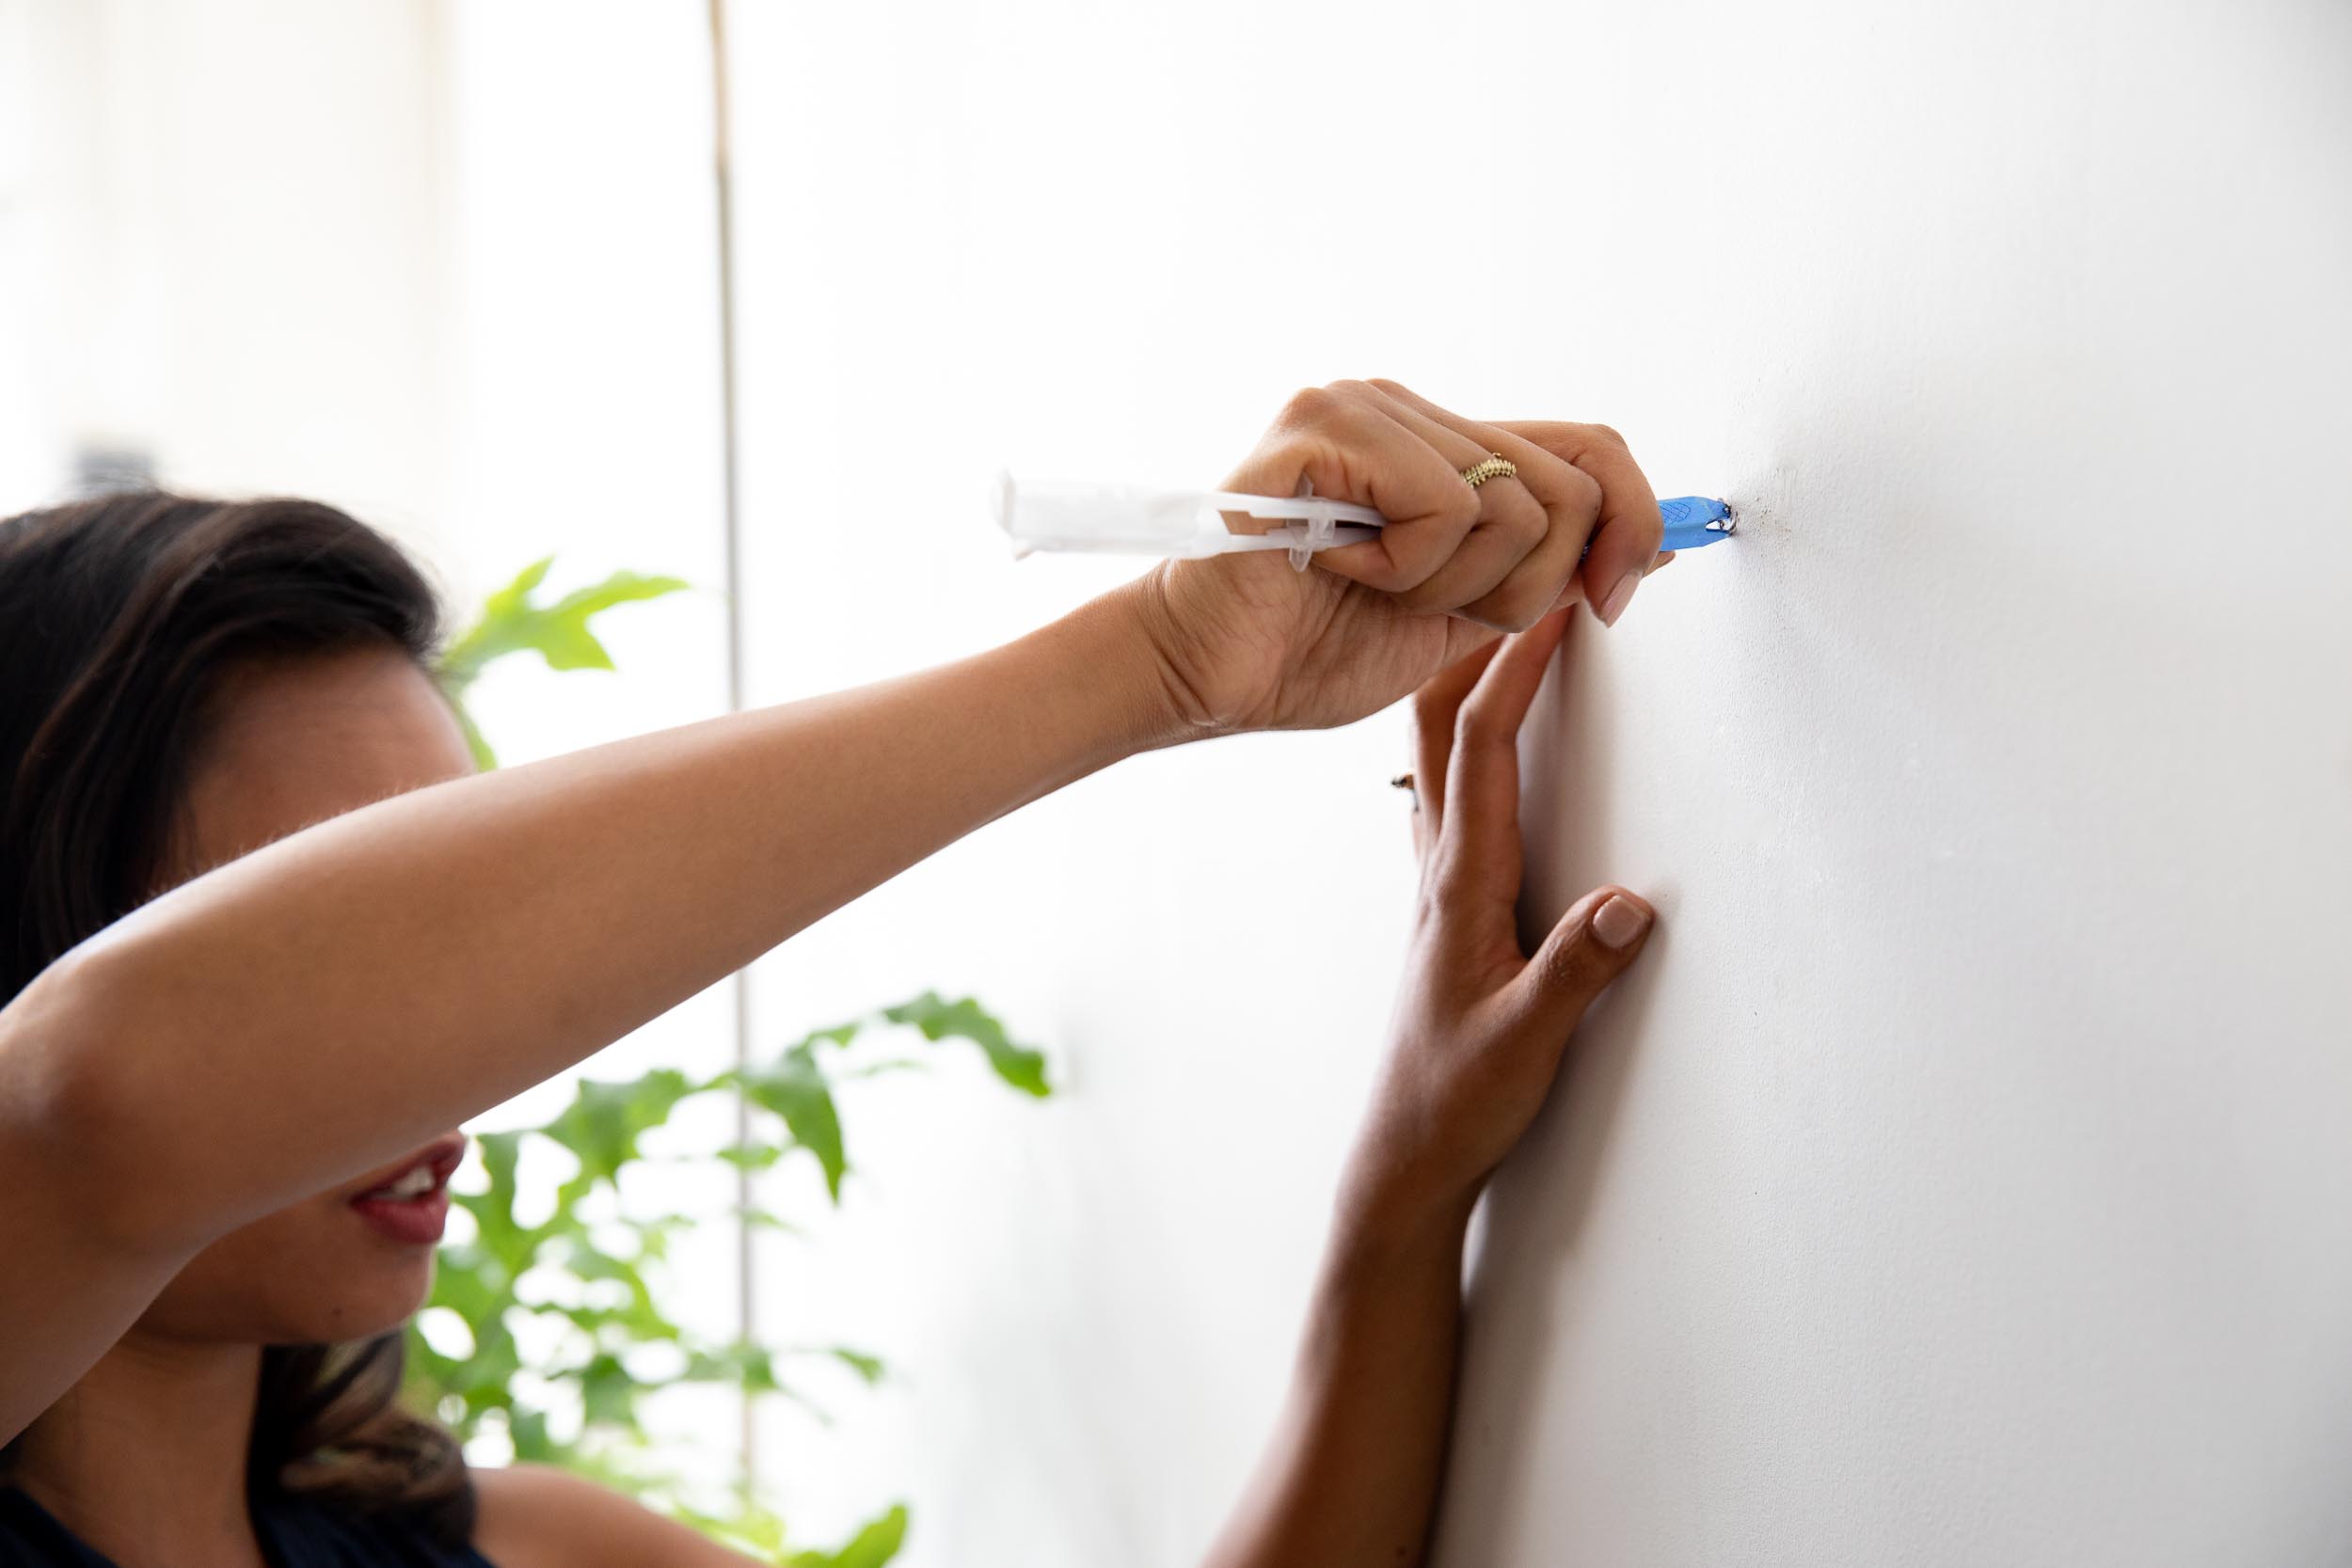
Set the case aside. Locate your marks and twist the anchor's metal tip into the drywall.
Step 5

Slide the metal channel all the way through the hole. Hold the end of the straps together and pull until you feel the metal channel resting against the wall.
Slide the plastic cap along the straps until the flange of the cap is flush with the wall.
Step 6

Pinch one of the straps near the wall and wiggle it back-and-forth until it snaps off of the flange. Repeat with the second strap.
Step 7

Reposition the case on the wall and align the backplate holes with the anchor holes. Insert the bolts and tighten until snug.
Step 8

Insert the backer-board. Slide back in the shelves. Reattach the door by clicking the hinges back onto their base.
TIP: When reinstalling the door, use the two grooved indicator lines on the hinge to align with nob on the base. push together, applying pressure towards the end of the unit to click the two together.
Step 9

When hanging a series of multiple cases attach each subsequent cabinet frame using the provided "H" links.
Attach each cabinet frame to wall as instructed in steps 1-7, just remember to remove the link from the backplate and position it in one of the four side pockets depending on where you plan to hang the next case.
Once all cABINET frames are hung on the wall complete step 8.
*A _" Phillips screwdriver are all that is required for standard drywall installation.
If you happen to place an anchor hole over a stud, you will need a handheld drill and a _/_" bit. Use the included wood screw instead of the drywall anchor.
For installation on walls made of other materials (brick, tile, etc) alternative anchors are required and should be available at your local hardware store.


